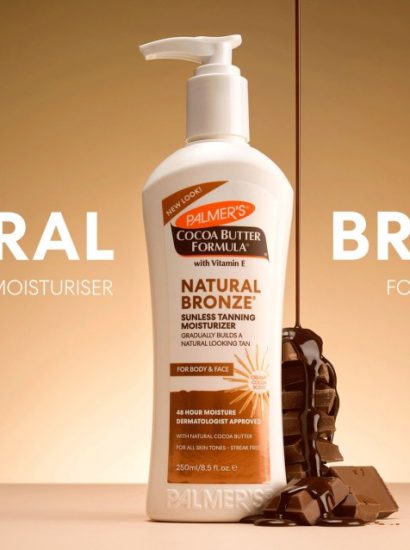
Self-tanning products are a convenient way to achieve a sun-kissed glow without UV damage. But as every tanning enthusiast knows, mistakes happen—uneven patches, streaks, or a shade darker than expected. If you’ve ever asked yourself “How do I remove self tanner fast?”, you’re not alone. The good news is that there are safe, effective methods to fade or erase unwanted color quickly, often using simple household items or skincare products. In this guide, we’ll explore the fastest and safest self tanner removal methods, along with tips to prevent streaks in the future.
Why Self Tanner Can Be Tricky to Remove
Self tanners work by using an ingredient called DHA (dihydroxyacetone), which reacts with the amino acids in your skin’s surface to temporarily darken it. Since this process stains the top layer of skin, removal isn’t as simple as washing it off. Instead, you need to exfoliate, hydrate, and gently lift away dead skin cells to fade the tan without irritating your skin.
Exfoliation: The First Step to Removal
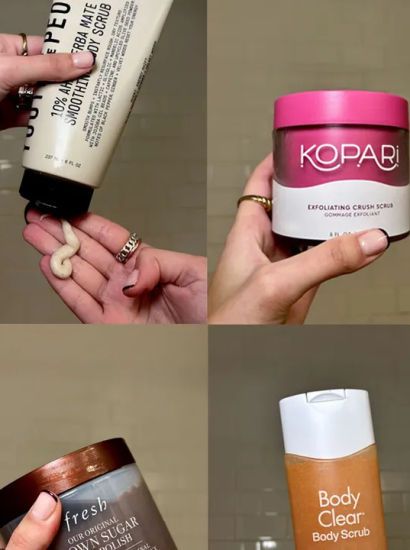
The most effective way to remove self tanner is through exfoliation. Use a gentle body scrub or exfoliating mitt to slough off dead skin cells where the tan has developed.
- Sugar or salt scrubs work well for stubborn patches.
- Loofahs or exfoliating gloves help buff away streaks.
- Focus on areas where color tends to cling, such as elbows, knees, and ankles.
Tip: Avoid scrubbing too harshly, as it can cause redness and irritation. Gentle, consistent exfoliation works best.
Baking Soda and Lemon Juice Remedy
A popular DIY method combines baking soda and lemon juice to lighten self tanner quickly. Baking soda acts as a natural exfoliant, while lemon juice contains citric acid that helps break down color.
- Mix baking soda with fresh lemon juice into a paste.
- Apply to streaked areas and massage gently.
- Rinse thoroughly with warm water.
This method is best for small patches rather than full-body use, as lemon juice can be drying.
Baby Oil or Coconut Oil Soak
Oils help soften and loosen self tanner by hydrating the skin and breaking down the DHA.
- Apply baby oil, coconut oil, or olive oil generously to the skin.
- Leave it on for 20–30 minutes.
- Follow with a warm bath or shower and exfoliation.
This not only removes the tan but also leaves skin moisturized and smooth.
The Power of Steam and Baths
Long, warm baths or showers can help soften the skin, making it easier to scrub off self tanner. Adding bath oils or Epsom salts can enhance the effect. Spending time in a steam room or sauna can also loosen pigment buildup.
After soaking, gently exfoliate with a mitt or scrub for maximum results.
Specialized Self Tanner Removers
If DIY methods aren’t giving quick enough results, you can turn to self tan removal products available on the market. These are formulated with gentle exfoliating and moisturizing agents to dissolve DHA safely.
Popular options include mousses, gels, and foams that you apply to the skin, leave on for a few minutes, and rinse away. They’re especially helpful for removing stubborn or older tans.
Using Whitening Toothpaste for Small Patches
For small, stubborn areas like fingers, palms, or nails, whitening toothpaste can work surprisingly well. The mild abrasives in toothpaste help lift pigment.
- Apply a pea-sized amount to the stained area.
- Rub gently with a toothbrush or cloth.
- Rinse after a few minutes.
This method should only be used on small spots, not large areas of skin.
Gentle Acid-Based Skincare Products
Products containing glycolic acid, lactic acid, or salicylic acid—common in chemical exfoliants—are great for fading self tanner. They work by dissolving dead skin cells more effectively than scrubs alone.
- Apply an AHA or BHA body lotion to the tanned area.
- Leave it on overnight for gradual fading.
- Repeat as needed until the color evens out.
This method is especially good for people with sensitive skin, since it avoids harsh scrubbing.
Quick Fixes for Streaks and Uneven Color
Sometimes you don’t need to remove all your self tanner—just correct uneven patches. Here are quick fixes:
- Makeup remover wipes can lighten streaks.
- Micellar water helps fade small spots.
- Mix baking soda with body wash and apply to streaked areas.
These methods are perfect for emergencies when you need to even out your tan before heading out.
Preventing Self Tanner Mistakes in the Future
The best way to avoid removal hassles is to prevent streaks and uneven patches from the start:
- Exfoliate thoroughly before applying self tanner.
- Moisturize dry areas (elbows, knees, ankles) beforehand.
- Use a tanning mitt for smooth, even application.
- Apply in thin layers and build up gradually.
- Allow full drying time before dressing to prevent streaks.
By prepping your skin properly, you’ll minimize the need for emergency removal methods later.
Conclusion
Removing self tanner doesn’t have to be a stressful process. From exfoliation and oil soaks to DIY remedies with baking soda and lemon juice, there are plenty of safe, effective ways to restore your skin’s natural tone quickly. For stubborn tans, specialized removers or acid-based skincare products can help speed up the process. And remember: proper skin preparation before applying self tanner is the ultimate way to prevent streaks and patchiness. With the right approach, you can enjoy a flawless glow every time.
FAQs
1. Can I remove self tanner in one day?
Yes, with methods like exfoliation, oil soaks, and specialized removers, you can fade or remove most self tanner in a single day.
2. Does shaving help remove self tanner?
Yes, shaving exfoliates the skin and can help fade self tanner, especially on the legs.
3. Is it safe to use lemon juice on skin for removing tan?
Lemon juice can be effective but may cause dryness or irritation. Always dilute or follow with moisturizer.
4. How do I remove self tanner from my hands and nails?
Whitening toothpaste, baking soda paste, or micellar water can help lift color from small areas like hands and nails.
5. Do self tanner removers really work?
Yes, store-bought removers are specially designed to dissolve DHA quickly and are safer for sensitive skin compared to harsh DIY scrubs.
Also read: How to Remove Eyelash Glue Safely: Easy Step-by-Step Guide