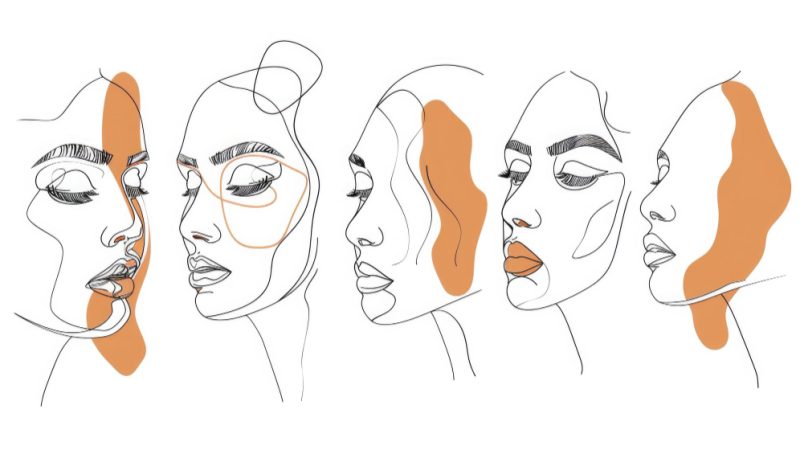
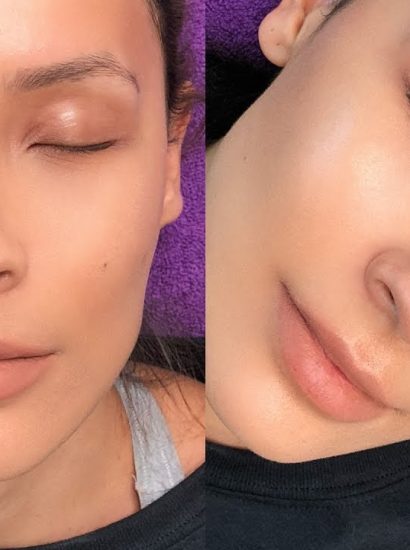
Skincare drawing has become a rising trend that combines beauty and creativity. It’s not only a fun way to explore skincare routines but also a method to visualize your self-care process artistically. Whether you’re drawing for fun, planning a beauty routine, or simply expressing your passion for skincare, these tips will help you craft beautiful, unique illustrations.
In this article, we’ll explore 10 artistic tips to help you perfect your skincare drawings. From understanding product shapes to incorporating color palettes, you’ll gain the knowledge to create impressive and inspiring illustrations.
1. Understand the Basics of Skincare Products
Before diving into drawing, it’s important to familiarize yourself with the different types of skincare products. Cleansers, serums, moisturizers, and masks all have distinct shapes and packaging. Some bottles may be round, others rectangular, and some may come in tubes.
Study the products you use daily, observe their textures and designs, and note any details that make them stand out. This will help you recreate them accurately in your drawings.
2. Practice Drawing Product Shapes
Once you’re familiar with the products, practice sketching their shapes. Use simple geometric shapes to get the basic outlines. For instance, serums and oils often come in dropper bottles with cylindrical or conical shapes, while face creams come in round jars.
Start with light pencil sketches and focus on symmetry and proportions. Getting the shape right is essential as it forms the foundation of your illustration.
3. Incorporate Skincare Routines into Your Art
To add depth and meaning to your skincare drawings, include an entire skincare routine. Rather than just drawing one product, you can create a series of illustrations showing the order in which products are used, such as cleanser, toner, serum, and moisturizer.
This approach not only enhances the story behind the drawing but also educates viewers about the skincare process, making your artwork both beautiful and informative.
4. Add Texture to Illustrate Product Properties
Skincare products are known for their various textures—creamy moisturizers, gel-like serums, and foamy cleansers. When drawing skincare products, add texture to convey the properties of the product.
For example, you can use soft shading to depict a creamy product or jagged lines to illustrate exfoliating scrubs. Using these small details can elevate your illustrations and make them more realistic.
5. Use Color to Reflect Product Ingredients
Color can bring your skincare drawing to life. Use colors that reflect the ingredients of the skincare products. If a product contains soothing ingredients like aloe vera or cucumber, use soft greens. For products with vitamin C, oranges and yellows can represent the citrus ingredients.
The key is to create harmony between the product’s function and the color scheme, making your drawings not only visually appealing but also suggestive of the product’s benefits.
6. Incorporate Nature Elements for a Soothing Aesthetic
Skincare is often about self-care and relaxation. To add a calming vibe to your drawing, incorporate elements of nature. You can include leaves, flowers, or water droplets around your products.
For example, pairing a hydrating serum with water waves or a moisturizing cream with flower petals can emphasize the nourishing and soothing properties of the skincare products.
7. Focus on Details for Realism
To make your skincare drawings stand out, pay close attention to details. This includes the font on the product labels, the texture of the packaging, and even the shadows cast by the containers.
Adding realistic details, such as the dropper’s tip on a serum bottle or the cap of a cleanser tube, will make your illustrations more convincing and visually impressive.
8. Experiment with Different Art Styles
Don’t be afraid to experiment with different drawing styles to see which best represents your skincare artwork. You can opt for a minimalist style with clean lines and simple color schemes or go for a more detailed and realistic approach.
Cartoonish styles can also be fun, adding a playful touch to your illustrations. The key is to choose a style that resonates with your artistic preferences and the message you want to convey through your drawing.
9. Use Digital Tools for Clean and Sharp Illustrations
If you’re comfortable with digital art, using tools like Adobe Illustrator, Procreate, or Sketchbook can help you create sharp and clean illustrations. Digital tools give you more flexibility in refining details, adding layers, and experimenting with colors without committing to them fully.
You can also use these tools to create vector illustrations, which can be resized without losing quality. Digital art is perfect for those looking to take their skincare drawings to a professional level.
10. Draw Inspiration from Real Skincare Brands
Sometimes, the best inspiration comes from real-world examples. Look at popular skincare brands and how they design their product packaging. Brands like The Ordinary, La Mer, and Drunk Elephant have iconic designs that you can draw inspiration from.
You don’t have to replicate them, but using elements from your favorite brands can help guide your own creative process and give your illustrations a professional touch.
Conclusion
Skincare drawing is a fantastic way to combine creativity with self-care. By understanding product shapes, textures, and colors, and incorporating elements like nature or routines, you can create impressive illustrations that resonate with both skincare lovers and art enthusiasts.
The key to perfecting your skincare drawings is practice. Keep experimenting with different styles, adding details, and drawing inspiration from real skincare products. Over time, your art will evolve, becoming a unique and personal way to express your passion for skincare.
FAQs
1. What is skincare drawing?
Skincare drawing is the art of illustrating skincare products and routines. It often combines artistic techniques with elements of beauty, health, and self-care.
2. How can I improve my skincare drawing skills?
To improve, focus on understanding the shapes of products, practice sketching, add realistic details, and experiment with colors and textures. Using digital tools can also help refine your skills.
3. What tools are best for skincare drawing?
For traditional drawing, pencils, colored pens, and watercolors work well. For digital art, tools like Adobe Illustrator or Procreate offer flexibility for creating sharp, clean illustrations.
4. Can I create skincare drawings without being an artist?
Yes! Skincare drawing is accessible to everyone. You don’t need to be a professional artist to start. Focus on enjoying the process, and your skills will naturally improve over time.
5. Where can I find inspiration for skincare drawing?
You can find inspiration from real skincare brands, social media platforms like Instagram or Pinterest, or even your own skincare routine and favorite products. Nature and wellness themes are also popular sources of inspiration.
Also read : Sanrio Skincare: 10 Must-Try Cute Skincare Items

